
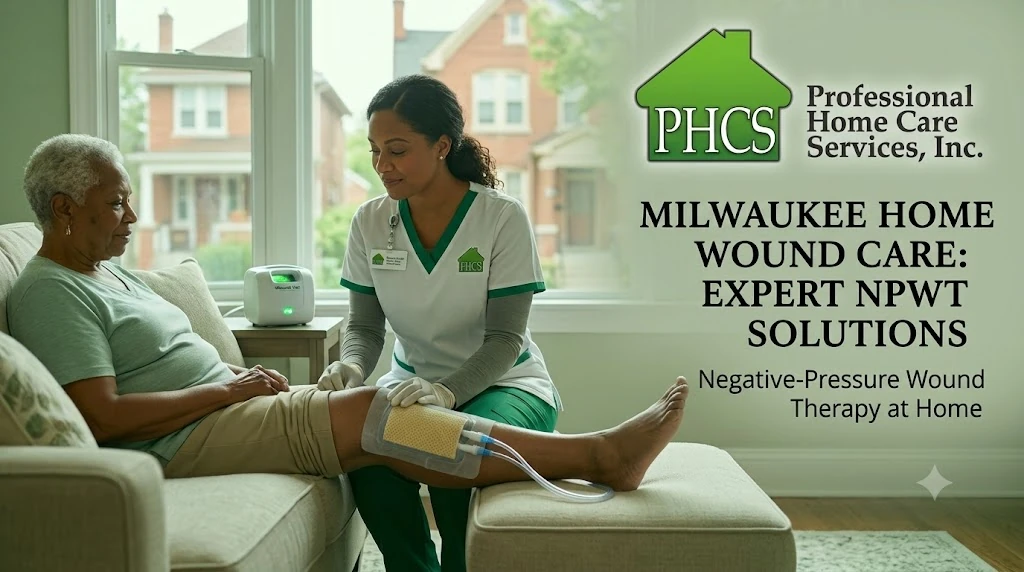


Recovering from a severe wound is a challenging journey, but healing in the comfort of your own home can make a tremendous difference. As a dedicated provider of home health care and personal care services in Metro Milwaukee, our team supports many individuals managing complex, hard-to-heal wounds.
For certain conditions—such as abdominal wounds or diabetic foot ulcers—a standard bandage isn’t always enough. In these cases, physicians often prescribe a highly effective treatment known as a Wound Vac.
What is Negative-Pressure Wound Therapy (NPWT)?
Using a wound vac is technically called Negative-Pressure Wound Therapy (NPWT). The basic principle involves covering the wound with a specialized, air-sealed bandage connected to a vacuum pump.
This advanced bandage system features two main connections:
- Drainage Tube: Allows excess fluid to escape from the sealed bandage.
- Vacuum Hose: Connects directly to the wound vacuum device.
The wound vacuum applies either a constant or intermittent suction to the bandage, creating a negative pressure environment around the wound. This gentle, continuous suction provides several essential healing benefits. It draws out excess fluid, increases healthy blood flow to the tissue, and can even supply fluids to irrigate the affected area. Ultimately, this creates a closed, moist healing environment that significantly reduces edema (swelling).
Types of Wound Vac Dressings
When administering professional wound care in the home setting, we primarily utilize three basic types of dressings. Each dressing consists of two to three distinct layers:
- The Outer Layer: A standard film drape that adheres securely around the wound to create an airtight seal.
- The Inner Layer (Contact Layer): Depending on the wound’s specific needs, this is typically an open-cell foam, a combination of gauze and a transparent non-adhering film, or a honeycombed textile with a dimpled surface.
The Open-Cell Foam Dressing Procedure
In home health care, the wound vac bandage utilizing open-cell foam is the most common approach. Every wound care procedure performed by a home health nurse is strictly prescribed by a physician and adheres to standards established by organizations like the Wound, Ostomy, and Continence Nurses Society (WOCN).
Because order and technique are critical for infection control and proper sealing, our nursing staff follows a precise process when applying an open-cell foam dressing in a patient’s home:
1.Clean the Wound Bed: Prepare the area.
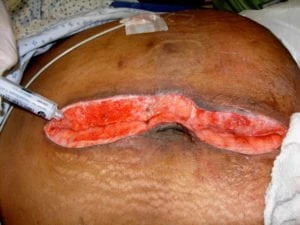
The wound bed is carefully cleaned with normal saline or a specialized wound cleanser to remove any debris.
2.Examine the Wound: Assess healing progress.
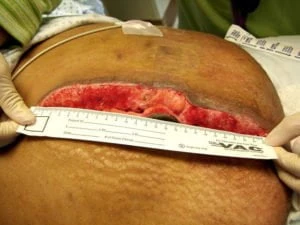
The nurse inspects the wound bed, looking for healthy pink or red granulation tissue. Any drainage, tunneling, or cavities are noted, and the overall wound size is assessed using a measuring tape.
3.Prep the Periwound Skin: Protect surrounding tissue.
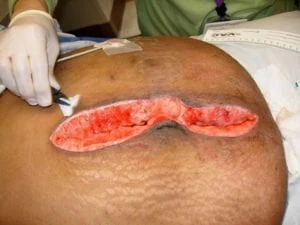
The condition of the skin immediately surrounding the wound (periwound) is checked. The edges are cleaned, dried, and treated with a liquid skin protectant.
4.Window Pane the Edges (Optional):Enhance the seal.
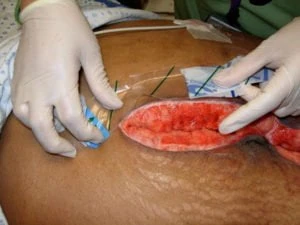
While not strictly required, window paning the wound edges with a film drape helps protect the periwound surface if the foam material extends beyond the wound margins. It also assists in creating a stronger airtight seal.
5.Cut the Open-Cell Foam: Shape away from the wound.
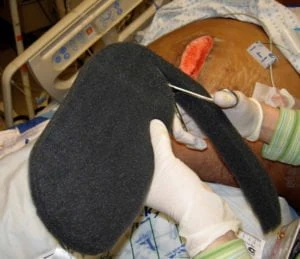
The open-cell foam is shaped to fit the exact size of the wound. To prevent stray bits of foam from falling into the wound bed, the foam is never cut directly over the patient. This is considered a clean, rather than strictly aseptic, procedure.
6.Insert the Foam: Track the piece count.
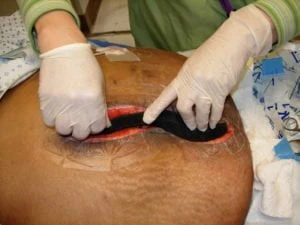
The shaped foam is placed directly into the wound. Enough foam is used so that, once the vacuum is applied and the material compresses, the foam’s height remains close to the top of the wound margins. The nurse carefully notes the exact number of foam pieces inserted—a critical safety step, especially when packing deeper cavities.
7.Apply the Transparent Film Drape: Seal the environment.
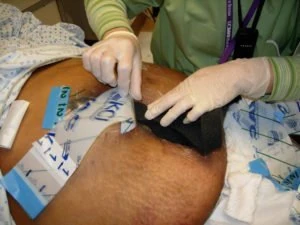
The transparent film drape is cut and applied over the foam. The drape should extend about half an inch past the wound margins onto the healthy periwound skin on all sides.
8.Create the Connection Point: Cut the drape.
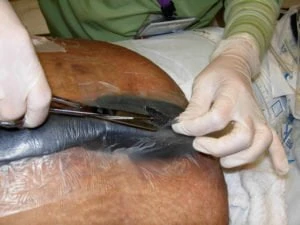
A small, quarter-sized hole (approximately 2 cm) is cut directly into the center of the film drape above the foam.
9.Apply the Tubing Pad: Ensure patient comfort.
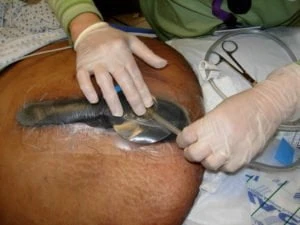
The tubing pad is placed over the freshly cut hole. The tubing is routed in a direction that is comfortable for the individual receiving care, avoiding any excessive pressure against their skin.
10.Connect to the Canister: Link the system.
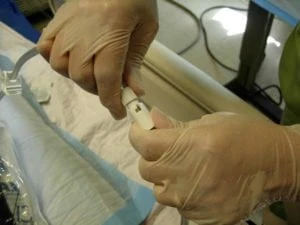
The dressing tubing is firmly connected to the tubing extending from the Wound Vac’s suction canister.
11.Activate the Suction: Check for air leaks.
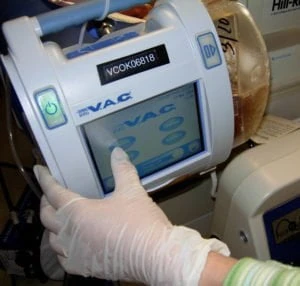
The wound vac is turned on. The nurse listens and feels around the drape for any air leaks. The therapy levels are configured exactly as prescribed by the overseeing physician.
12.Finalize and Document: Complete the record.
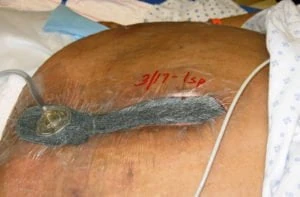
As suction engages, the foam compresses, taking on a firm, raisin-like appearance. The dressing is labeled with the date, time, the nurse’s initials, and the number of foam pieces used. Finally, the entire procedure is thoroughly documented in the home health nursing note.
Professional Home Care Services, Inc. is committed to providing Metro Milwaukee with top-tier clinical expertise, ensuring that advanced treatments like Negative-Pressure Wound Therapy are delivered safely, comfortably, and effectively in the home.